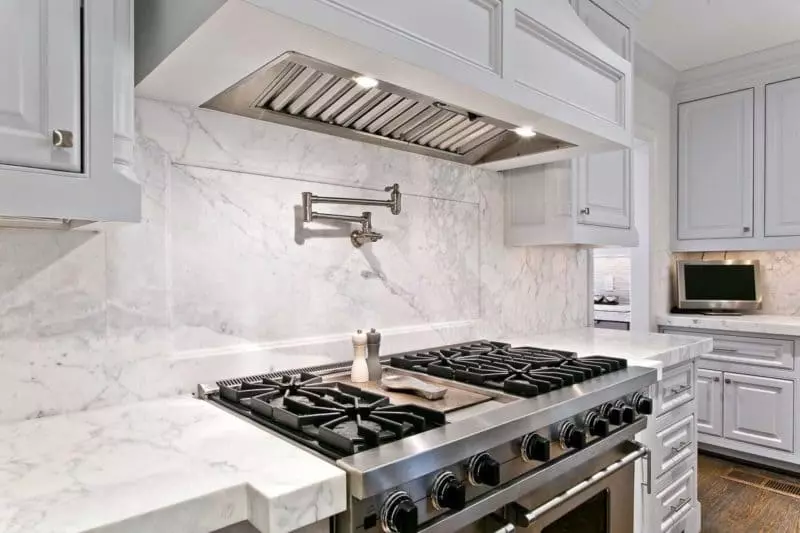
Selecting a new countertop is a key element of kitchen design and renovation. As a primary worksurface, counters should withstand frequent use, temperature fluctuations, and spills. Quartzite countertops offer natural beauty and minimal maintenance, keeping your kitchen looking like new for many years. Here are the steps involved in a stone countertop installation:
1. Select Your Material
Kitchen countertops often come from natural or fabricated stone. The type of material impacts the appearance and performance of your kitchen counters. Some common countertop types include:
- Granite: Granite’s natural mineral content creates a speckled appearance, and some stones are also veined. It is a hard, durable stone that resists chipping and cracking, even when exposed to heat.
- Marble: Marble counters have unique veining that gives them a luxurious and elegant appearance. The stone is porous, making it prone to staining, but water-resistant coatings keep the counter’s surface clear.
- Quartzite: Quartzite countertops combine the beauty of marble with the strength of granite. Veins of blues, reds, and browns usually color this dense and durable stone.
- Porcelain: Porcelain is a combination of sand, clay, and other natural materials. This forms countertops that are durable and water-resistant.
2. Get an Estimate
When calculating an estimate for your counter installation project, experts at Allied Gallery review your selected material and counter size. Installers calculate the total square footage of your counter space to select or manufacture stone slabs that match your requirements. Determining square footage includes measuring the counters’ lengths and widths in inches, multiplying them, and dividing the total by 144. This number is then multiplied by the price per square foot of your selected material.
Labor requirements are also included in many estimates. Labor costs may include cutting the stone to size, cutting out holes for sinks or cooktops, drilling holes for faucets, and rounding corners. Providing a contractor with your kitchen’s layout and appliance locations can help them create an accurate cost estimate.
3. Template Creation
A countertop installation team creates a template that shows your counters’ exact measurements. Countertop stones usually come in slabs that need cutting down to size. When working on a slab, a template helps stone cutters visualize cutting locations and final sizes. Accurate digital templates can speed up counter fabrication and minimize cutting mistakes.
4. Fabrication
Fabrication is the process of cutting and shaping your countertops. Specialized saws cut stone slabs to prevent cracking and maintain the stone’s integrity and appearance. A Computer Numerical Control (CNC) machine then cuts counters to precise dimensions. Cutouts for sinks and stovetops are also made at this stage. After cutting, polishing the stone brings out the material’s natural shine.
5. Installation
Installers deliver the countertops to your home and place them on top of your floor cabinets. Countertops should be level before securing them down. Seams where two pieces of stone meet are usually joined with epoxy to prevent water from entering the gap. For counters that are porous or prone to scratching, sealants are added to protect against water, UV rays, and etching.
Install Quartzite Countertops Today
When upgrading your kitchen or bathroom, stone selection and counter installation are necessary steps in the renovation. Stone counters like quartzite offer durability, heat resistance, and natural beauty to match your design style and functionality needs. Contact Allied Gallery today to learn more about the counter installation process.

